Are you in need of a beautiful, yet inexpensive storage solution for all those toys, winter accessories, or junk piles lying around?
I’m loving the rope baskets and bowls that I see in magazines and home stores, why am I such a sucker for containers? It may say something about the current state of my life which some would call mayhem. I digress.

Here is what you will need…

How To:
Start at the bottom, people, and work your way up. It’s a good habit, builds character. If your container has handles, cover them first and leave a tail that you will cover later as you wrap around.


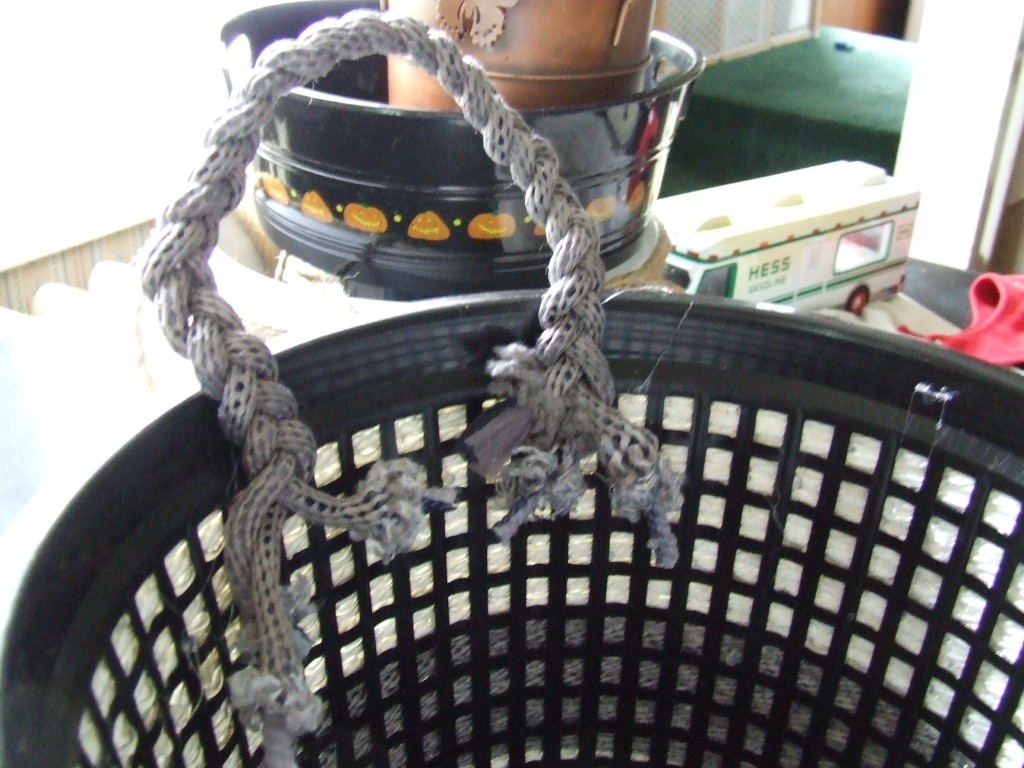
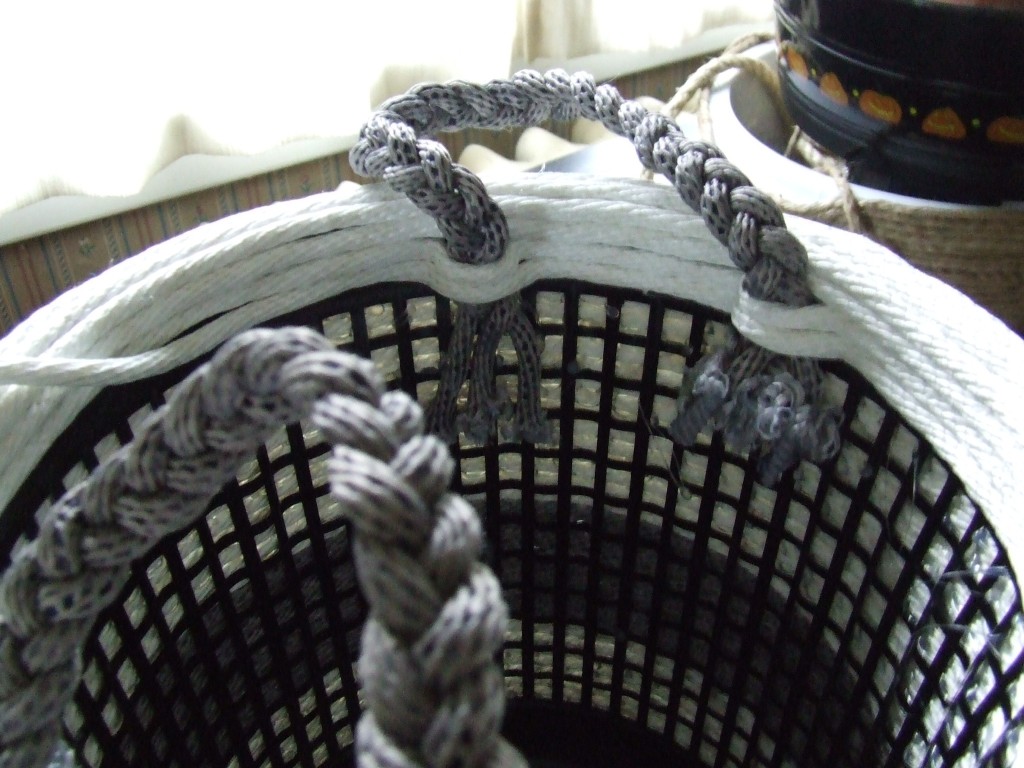
You can also add handles to your basket by twisting or braiding rope together and gluing them down first. Make sure you have enough length on the ends to give you good stability.
If you have an extra day or so to spend on this project like me (i’m lying), or are feeling a particular glutton for punishment (like me), you can dye some or all of your rope to add interest. Cotton or nylon take dye well.

Now, throw something colorful in your basket so your picture will look like a proper tutorial that others will want to emulate.


What an awesome idea! That will definitely need to be pinned!